Difference between revisions of "Emails Letters and Mailing Lists-Creating a Signature block 2"
Jump to navigation
Jump to search

(Created page with "<div xmlns="http://www.w3.org/1999/xhtml"> <div style="text-align: left;">Table of Contents | Emails_Letters_and_Mail...") |
|||
| Line 1: | Line 1: | ||
<div xmlns="http://www.w3.org/1999/xhtml"> | <div xmlns="http://www.w3.org/1999/xhtml"> | ||
| − | |||
| − | |||
| − | |||
| − | |||
| − | |||
<div style="margin-left: 18pt;"> | <div style="margin-left: 18pt;"> | ||
<table border="0" cellspacing="0" cellpadding="0" width="99%" summary=""> | <table border="0" cellspacing="0" cellpadding="0" width="99%" summary=""> | ||
Latest revision as of 13:37, 31 March 2016
1. |
Click Communication in the left-hand navigation bar. |
2. |
Click Email a member. |
3. |
When the editor displays, create the desired signature block. See sample below in Figure 8-1. |
Hint: You might want to start the signature block with two blank lines before your actual signature lines.

Figure 8-1 Creating signature block
4. |
Click Save ( |
5. |
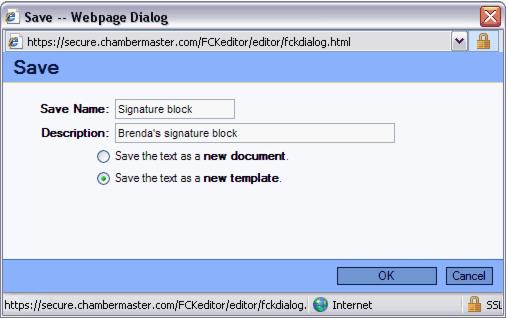
Complete the Save Name and Description fields in the Save window ensuring that Save the text as a new template is selected. See Figure 8-2 below. |
After creating the signature block, it may be used at any time when sending emails or letters. See “Using a Signature Block”.

Figure 8-2 – Saving a template
6. |
Click OK. |