Receive Payments
(Redirected from ChamberMaster Billing-Receive Payments)
Jump to navigation
Jump to search
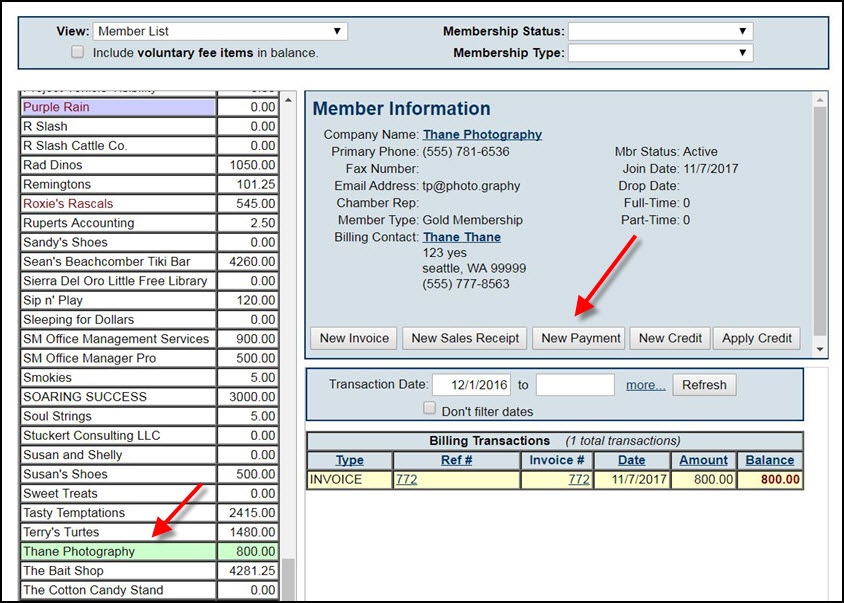
- Click Billing in the left-hand menu.
- Click the Billing Center tab.
- Click the desired member in the member list.
- Click New Payment.
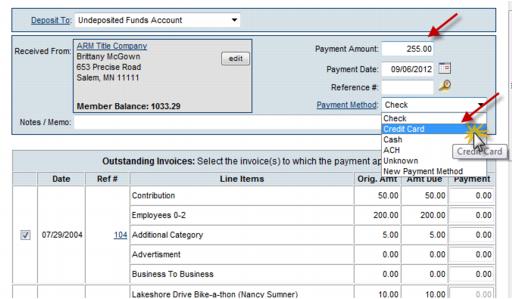
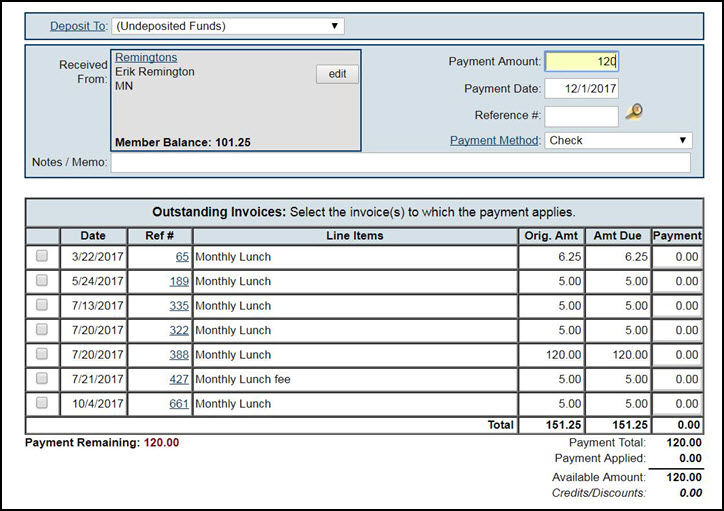
- Select the deposit account to which funds should be deposited from the Deposit To drop-down list. Click Here for more information on deposits.
- Complete the payment information fields including: Payment Amount, Payment Date, and Payment Method.
- Optional: Fill in the Reference number of Notes/Memo field as desired. Reference number may contain the check number or last 4 digits of credit card or other identifying information. Notes/Memo is available for miscellaneous notes displayed on the payment. If selecting Credit Card and then capturing the credit card payment right away, then the Reference number and Notes/Memo will automatically be filled in.
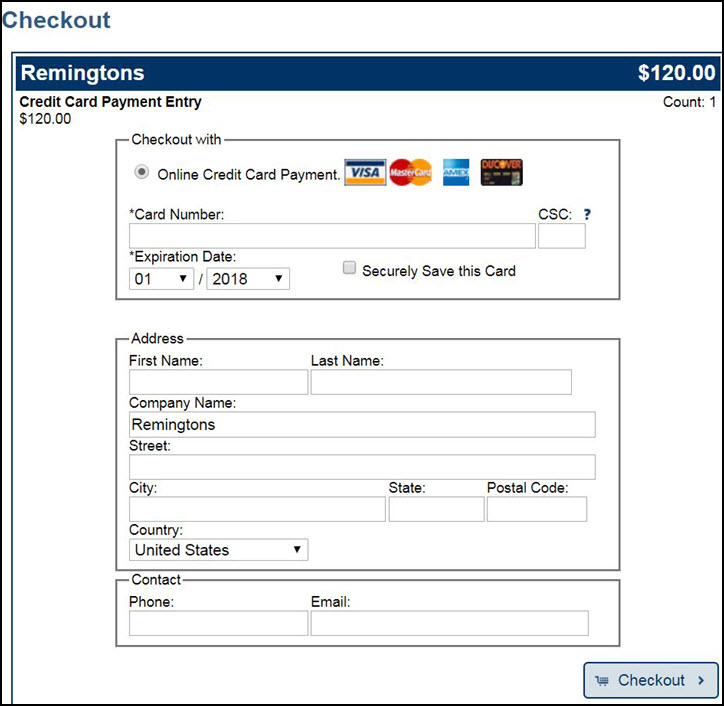
- If selecting Credit Card as the Payment Method, the Capture Payment button will appear. Click Capture Payment and complete the credit card information screen. The credit card will be processed with the amount specified in the Payment Amount field. NOTE: The Capture Payment button is only available for Plus users that have Authorize.net, Beanstream, or PayPal Website Payment Pro processing.
- To apply the payment to a particular invoice(s), click to select the checkbox in front of the invoice that this payment applies to. Deselect any invoices that do not apply, by default, the oldest invoice will be selected.
- Click Save.
- If desired, click Print or Email to print/email a payment receipt.
NOTE: If you wish to print a Paid Invoice, you can do this by reprinting the invoice to which this payment has been applied. The appropriate fields must be included in your invoice template.


